


It’s DAY 5 of the One Headband Pattern Each Day for a week event!
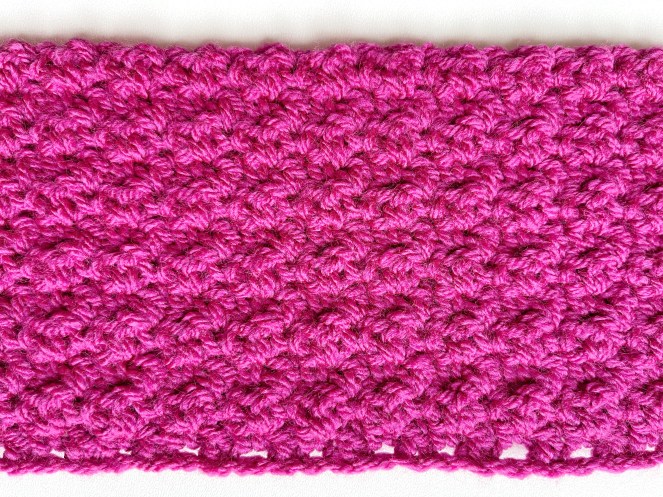
This is a super easy and beginner friendly pattern, using the lemon peel stitch to create a nice, textured and modern look.
Say hello to my newest pattern, the Helma Twisted Headband!
Special thanks to my tester: Rebecca Urrutia
Blog post may contain affiliate links. Using the links I provide does not cost you anything additional.
This pattern and photographs are the property of K.A.M.E. Crochet by Krisztina Anna Matejcsok-Edomer and are for personal and non-commercial use. You may not alter or sell this pattern in any way. You may sell finished products, but please credit K.A.M.E. Crochet if you can. Thank you!
If you love what I create, you can support me to create more beautiful free patterns by buying me a virtual coffee:
https://ko-fi.com/kamecrochet
You can download an AD FREE printable version of this pattern for a small fee in my Ravelry store HERE or on Etsy HERE.
Difficulty: Easy
Finished Size:
Adult Small but it can be easily adjusted to any size and width
Materials needed:
- 5 mm (H) size hook (I used Cream Streamline by Furls)
- 40 grams, 80 yards/74 meters of Aran/Worsted weight yarn (I used Paintbox Yarns Simply Aran in Raspberry Pink shade)
- Yarn needle for weaving in ends
- Scissors
- Stitch markers (optional)
Stitches Used and Abbreviations:
CH = chain
ST = stitch
SC = single crochet
DC = double crochet
[ ] = used to repeat a longer set of instructions between these brackets, the number of times given
Gauge: 4 SC = 1”
Additional notes:
- If a row starts with a CH 1, that is not counted as a stitch.
- US terms used throughout
- At the end of every row, there’s going to be a note with the stitch count, so you can keep track of your work easily and avoid any mistakes. It’s written in a different color in bold
- Notes are written in a different color in (brackets) to help you through the pattern.
- You can start each row as I did in the pattern or you can use a standing stitch or chains, it’s totally up to you!
- You can easily adjust the width of your headband: the starting chain should be multiples of 2+1 chains
Instructions
To start: CH 71

Row 1: 1 SC into the 2nd CH from the hook (Pic 1), 1 DC in next CH (Pic 2), [1 SC in next CH, 1 DC in next CH] 34 times
TURN
(35 SC, 35 DC)
1.

2.


Row 2: CH 1, 1 SC in same ST, 1 DC in next ST (Pic 1), [1 SC in next ST, 1 DC in next ST] 34 times (Pic 2-3)
TURN
(35 SC, 35 DC)
1.

2.

3.

Row 3-12: repeat Row 2
(35 SC, 35 DC)
After Row 12:
Fasten off, leave a long tail to sew the ends together.
Sewing the ends together:
- Put a stitch marker in the middle of the short side, lay it flat vertically with the marked end on top. (Pic 1)
- Fold it in half by matching the short ends: the left corner of the other side should be on top where the stitch maker is. (Pic 2)
- Fold left side upwards on top of the top layer. (Pic 3) (Note: keep the long tail free on top to avoid it getting wrapped in while folding)
- Fold right side downwards under the bottom layer. (The right corner will be under the stitch marker)(Pic 4)
- Sew the four layers together with a whip stitch, fasten off. (Pic 5)
- Flip it inside out. (Pic 6)
1.

2.

3.

4.

5.

6.

Thank you for choosing this pattern for your project! When you make it, I’d like to see it! Remember to tag me – @k.a.m.e_crochet or use hashtag #kamecrochet on Instagram.
You can also join my Facebook Group where you can get updates on new pattern releases or help with existing ones if you get stuck.
https://www.facebook.com/groups/975632939436008/?ref=bookmarks
If you have any questions about the pattern, you can also contact me directly at kamecrochet@gmail.com or
Ravelry: https://www.ravelry.com/people/Mytia89
Ribblr: https://ribblr.com/shop/kame-crochet
Facebook: https://www.facebook.com/KAMECrochet
Instagram: https://www.instagram.com/k.a.m.e_crochet


3 thoughts on “Helma Twisted Headband”